Thursday, July 25, 2013

Baby Shower Fiesta!

Honoring new mommies and their babies is a very special job!
We were excited and blessed to host a Baby Shower Fiesta for my sister-in-law and second time mama, Jen!


Shower invitations were made to resemble Mexican papel picado decorations.


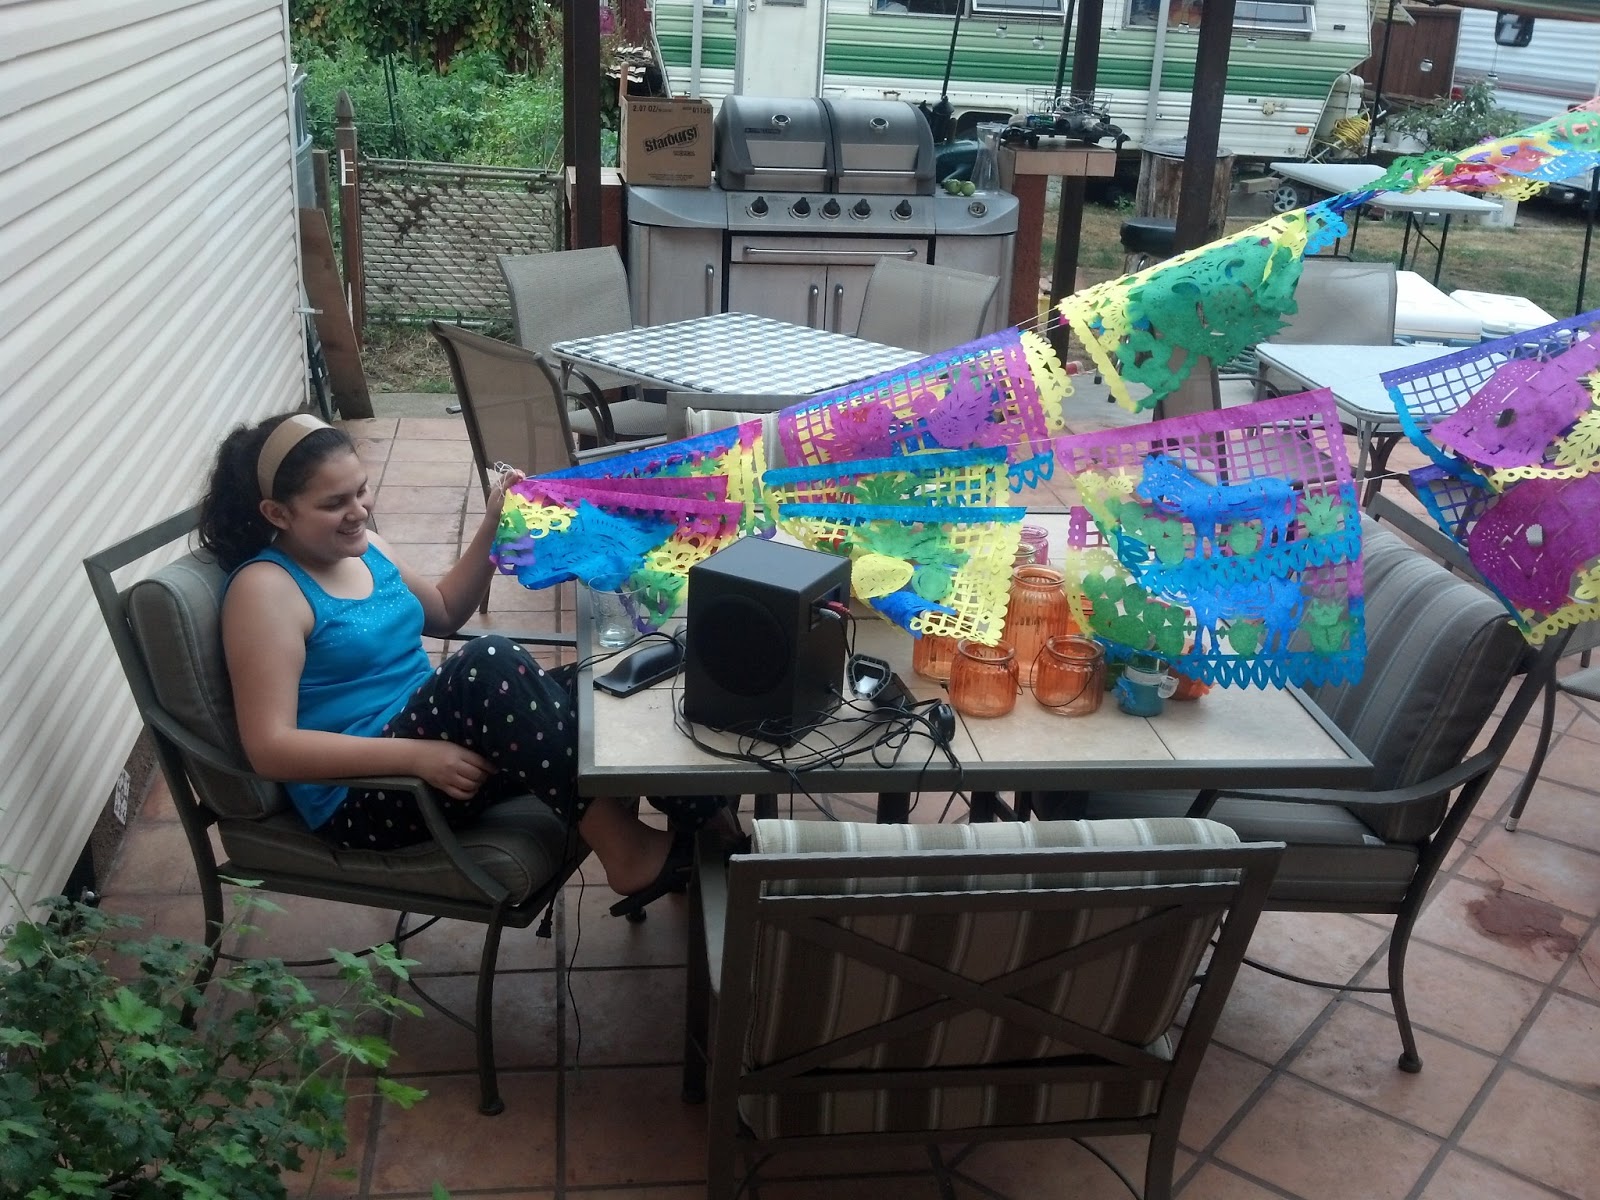
We hung strings of colorful papel picado that I purchased during my last trip to Mexico City! 
Their bright, cheerful colors and designs were perfect for our Fiesta Baby Shower theme!


We also made a "Fiesta" banner using the Cricut (and the Ole cartridge!) to continue the papel picado theme! 
We used jute twine to hang up this banner, and put balloons on each end!


We filled the patio with small tables, and decorated each one with a unique cloth tablecloth, secured in place with a tile trivet & colorful glass tealight buckets! Flowers were made by a talented local florist!


We decorated the lily & clematis arbor with hanging glass buckets and more papel picado!


We played the "baby" name game! 
The player that collects the most bracelets from other players who say the word "baby" wins!


Food and drink...

We served a delicious array of dishes for the taco salad & tostada bar. Yum!

Fruit salad...


Beans & Rice...


Chicken Tinga & Beef Tampiquena...


Chicken Fajitas & Beef Picadillo...


The mock sangria punch was a hit!


And the cake! Isn't it just precious? Two layers of pure delight, decorated with colorful papel piacdo and flowers! Pink champagne w/strawberry 'bavarian' cream filling on the bottom layer and strawberry cake w/cream filling on the top layer! 
A beautiful work of art!


Congratulations to the beautiful mama-to-be! 


All our love,
Megan, Ky & Anna


Thursday, July 11, 2013

The Lone Tomatillo-alone no more!

Tomatillos are one of my favorite vegetables to grow, because they are strong, fairly disease resistant, and are super delicious in salsas.
The purple and green Tomatillo seeds I ordered from Baker Creek Heirloom Seed Company last year yielded me lots of beautiful, healthy plants and many, many pounds of tomatillos. Marco and I harvested bucket after bucket of them, and were able to can dozens of jars of mild and medium green salsa.
As I was weeding my garden the other day I noticed something that looked strangely like a tomatillo plant. I was intrigued, and delighted when upon closer examination it was a tomatillo! A remnant from last year's harvest, this persistent plant got my attention! I was happy to dig it out of the weeds and plant it next to my other tomatillo plants.
Ah, gardening is such great joy!

Saturday, June 22, 2013

How I Make Raspberry Jam

Friday June 21st was a special day-my last day of work of the 2012-13 school year! My darling daughters and I celebrated my last day of work for the summer by going to The Pumpkin Patch on Sauvie Island to buy berries. I ask you, what is a more perfect way to end the week and start summer break than canning a couple dozen jars of jam? You may have other answers, and that's OK. However, it's perfect for me. It only took me about two hours to can a whole flat of raspberries into delicious raspberry jam, and after the jars are labeled, they will grace the shelves of our pantry's preserves cupboard.


It's very easy to can. For canning jam, I use a waterbath canner. This is simply a large pot filled with water that "processes" jars of high-acid fruit and vegetables using boiling water rather than pressure. Check out the Ball website for lots of great info on the different ways to preserve fruits and veggies.

It's really important to prep your work space prior before your canning adventure gets too far underway. This means, you must have a clean area to work in, and you must WASH and STERILIZE your jars, lids and bands. You also must check out the rims of your jars to ensure there are no cracks or nicks. This could cause your preserves to go to waste or cause botulism (click HERE to learn about how serious botulism is) if jars don't seal properly, and if you are going to all the trouble of canning food that you bought with your hard-earned money-take a little extra time to inspect your jars!

A word about supplies: I would go the extra mile and buy yourself a few canning tools and a clear plastic shoebox (they have them at the dollar store) to put them in. Label it "CANNING TOOLS" and keep them in that box!! This way, when you decide to can, your canning tools are not scattered through the kitchen in who-knows-which-utensil drawer, or in the garage, or even in the laundry room. You would be surprised (or not) where husbands and kids place things they don't think are useful-until they are needed. OK, back to supplies: A ladle is a biggie, as well as a funnel that fits securely on the jars and some heavy duty tongs. The magnetic wand that magically "lifts" the lids and bands out of the water is not completely necessary, tongs do the same thing. And a plastic butter knife works great to get rid of bubbles before sealing your jars.

Now, let's make some jam!


For my raspberry jam, I chose the best looking raspberries and rinsed them off-throwing away berries that were overripe and/or moldy.
Then I mashed them with a potato masher. 
I put the mashed berries in a cookpot with sugar and heated to a boil. The recipe I used calls for 2 cups of sugar to 2 cups of mashed berries, in addition to pectin, which "jells" the jam. The pectin alternative I use is Mary Jane's "Chillover Powder". You are not obligated to use it, but I love it, and it's a great alternative to conventional pectin. You can check out Mary Jane's Chillover Powder at www.maryjanesfarm.com.
Once the berry mixture was boiling, I added the Chillover Powder and stirred it really well for three (3) minutes while it continued to boil. Then I turned off the burner. The mixture was ready to go into the jars!
Notice how the jars are simmering on the back right burner, the lids and bands are simmering on the middle burner, and the canner is heating up on the back left burner. I like to make sure the canning water is boiling once my jam mixture is ready to go into the jars, because they should go into the canner right away once filled!
Now that the berry mixture was ready and I turned off the burner it was cooking on (I'm emphasizing how important it is to NOT continue cooking the berry mixture once it is done), I took my heavy duty tongs, removed the jars from the simmering water, and placed them on the counter on a dishtowel.
I placed the funnel over the jar, and used the ladle to gently fill it to allow for 1/4" headspace. This funnel is marked at 1/4", 1/2" and 3/4" so I don't overfill my jars. Once filled with the berry mixture, I wiped the rims with a damp paper towel, placed the lids on, and screwed the bands on fingertip tight. I used to not understand what "fingertip tight" meant, but what works for me is "tight, but not too tight". You don't want your preserves floating in the canning water if the lids come off during processing!
I gently placed my jars on the rack, lowered it into the boiling water and put the lid on. For this raspberry jam recipe, the processing time was 10 minutes. After the 10 minutes was up, I raised the rack out of the water, and placed the jars on a towel to cool (using a hotpad to move the jars!). The "ping" sound the jars make while cooling signals that the jars have sealed. They will be cool enough to label and store the following day.
My jars cooling on a towel on the table!
Finished product-beautiful red raspberry jam!


Wednesday, June 19, 2013

Every girl needs a good sharp hoe

It's June, and garden season is in full swing. What else is in full swing? Weeds! They are all over the place-and it takes some persistence to keep 'em at bay. My dad tells me that my Great-Grandma Annie used to wield her garden hoe with a menace-she didn't play around when it came to weeding. Her vegetable garden was a showpiece that provided food for the winter months, and she was very proud of it. My Great-Grandparents brought their children to Oregon during the The Great Dust Bowl of Oklahoma and the Great Plains Regions in the 1930's. Farming and gardening were very important and integral parts of their lives. Knowing that Great-Grandma Annie would be proud of me following in her footsteps, I got one of the old hoes out of the garage and tried it out on the weeds encroaching on my tomatoes and peppers. It worked OK, but after a while I realized that I was working way too hard. The reason? That old hoe was pretty dull. I asked my handy husband to sharpen it for me, and voila! I was able to weed with ease. Farmgirl (and guy) friends, never underestimate the importance of having at least one good, sharp hoe.
Happy Gardening!

Wednesday, February 8, 2012

It all comes out in the wash...

Hate to clean? I do too, but don't you just love the feeling of a clean house? Even though I hate cleaning, I love the end result-and so does my family. Cleaning is just one of those things we have to do. You know, we have it so much easier than our grandparents and great-grandparents did back in the day. This photo was taken circa 1910. My great-grandma Mabel is on the far right holding the wash basin. They used to have to run water to fill the basin outside (see the hose?), then heat it up inside over a stove, and once it was hot they washed by hand and/or washboard then hung it out to dry outside. Much easier than our washer & dryers of today...helps to keep our chores in perspective-especially when it feels like we have too much to do.
Welcome to my musings! I'll be posting photos and ideas as I come across them-relating to home, garden and crafting. Enjoy!